前言: 从上一篇的文章 从0制作自主空中机器人-3-【环境与常用软件安装】 | MGodmonkeyの世界 中我们的机载电脑已经安装了系统和常用的软件,这一篇文章中我们入门一下无人机常用的开源飞控PX4 ,以及ROS 中无人机的仿真
1. PX4的安装
1.1 PX4固件代码的下载与编译
通过github下载PX4代码(下载慢时可以找一些github的镜像网站)
1 git clone https://github.com/PX4/PX4-Autopilot.git --recursive
1
2
3
sudo apt-get install protobuf-compiler libeigen3-dev libopencv-dev -y bash ./PX4-Autopilot/Tools/setup/ubuntu.sh
如果安装PX4的环境比较纯净,比如说刚装的Ubuntu系统,运行bash脚本过程中会报好几次错 !因为他需要安装的依赖包比较多。解决方法其实也很简单,即 【确定导致报错的依赖包名,网上检索安装这个依赖包的方法】 。我们只需要将导致报错的依赖包都安装好了,运行.sh文件时就能会跳过他们。
一个实例如下:
1 2 3 4 pip3 install -i https://pypi.douban.com/simple/ matplotlib==3.3.4
在安装过程中确认并通过所有的提示,完成后重新启动计算机。
如果在下载或编译过程中遇到任何问题都可以参考下面的博客:
1
2
3
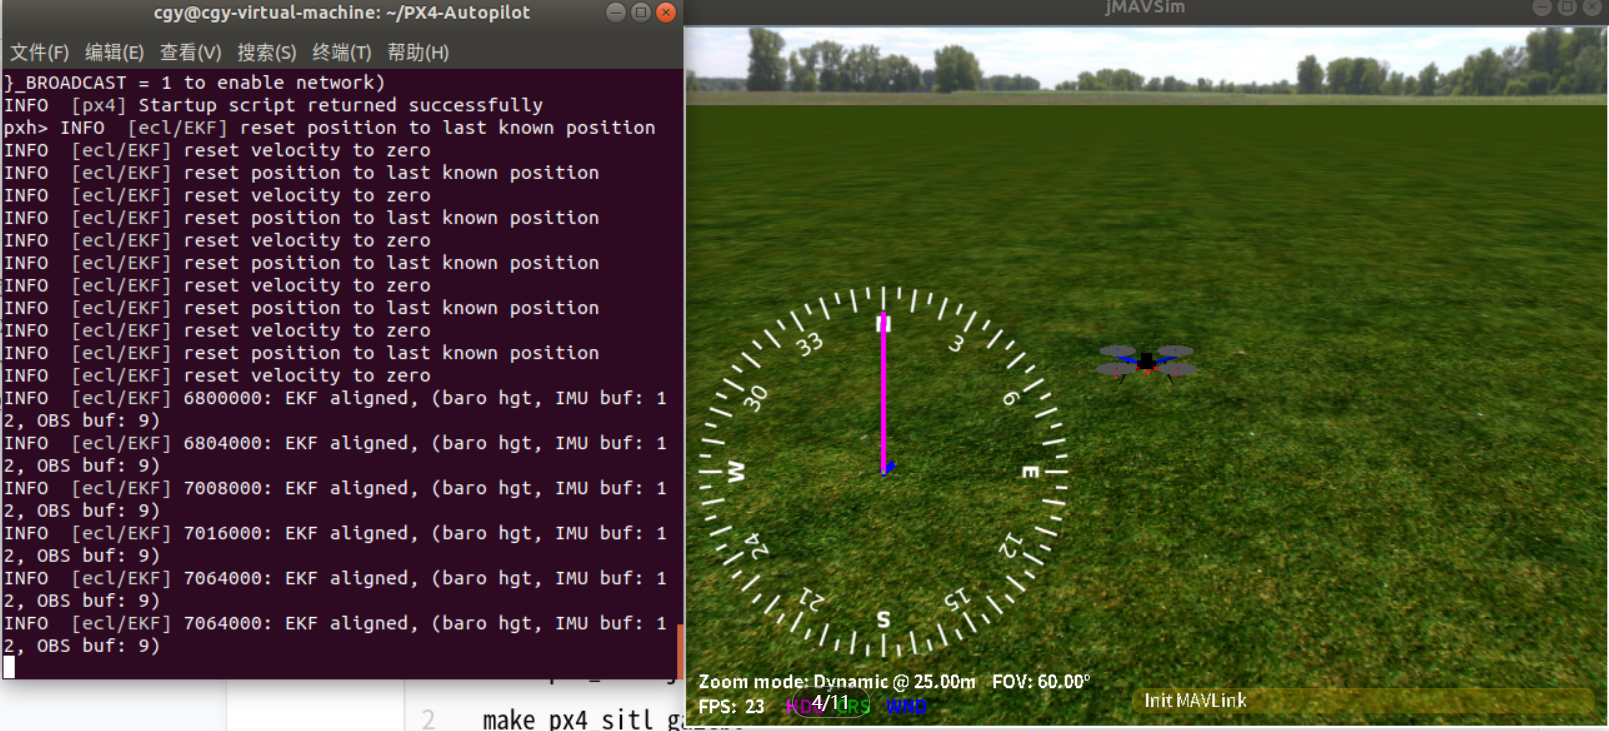
cd PX4-Autopilot make px4_fmu-v3_default make px4_sitl jmavsim
编译结束会自动启动仿真,出现一下画面则说明编译正常
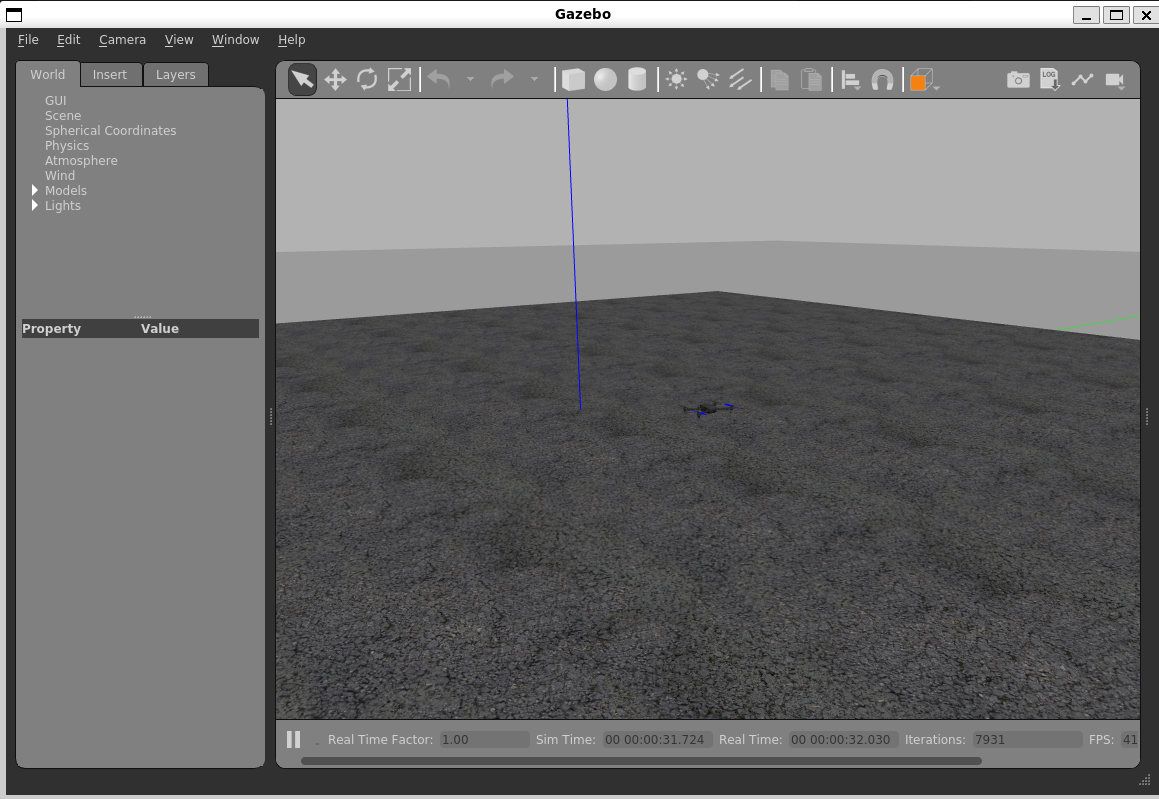
出现gazebo界面代表成功
2. Gazebo仿真
仿真一般用于验证算法,比较吃性能,机载电脑上运行仿真帧率会比较低,因此仿真推荐在性能比较好的电脑上运行,推荐使用WSL2 或者虚拟机
1 2 3 4 source ~/PX4-Autopilot/Tools/setup_gazebo.bash ~/PX4-Autopilot/ ~/PX4-Autopilot/build/px4_sitl_defaultexport ROS_PACKAGE_PATH=$ROS_PACKAGE_PATH :~/PX4-Autopilotexport ROS_PACKAGE_PATH=$ROS_PACKAGE_PATH :~/PX4-Autopilot/Tools/sitl_gazebo
添加成功后执行source ~/.bashrc来生效脚本
可以通过下面这几条命令来测试
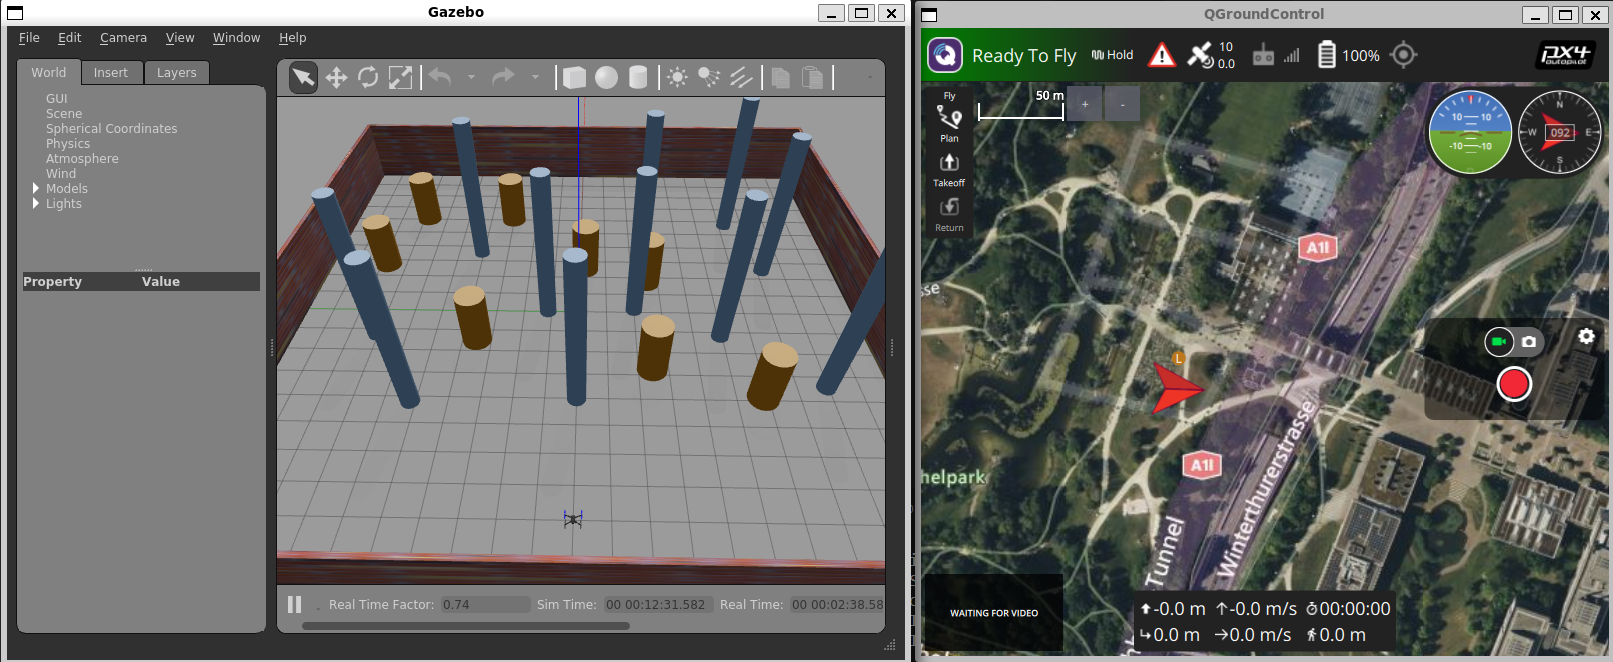
1 2 3 4 roslaunch px4 mavros_posix_sitl.launch roslaunch px4 fast_test.launch
3. QGC地面站
https://docs.qgroundcontrol.com/master/en/qgc-user-guide/getting_started/download_and_install.html
1
2
3
4
5
sudo usermod -a -G dialout $USER sudo apt-get remove modemmanager -y sudo apt install gstreamer1.0-plugins-bad gstreamer1.0-libav gstreamer1.0-gl -y sudo apt install libfuse2 -y sudo apt install libxcb-xinerama0 libxkbcommon-x11-0 libxcb-cursor0 -y
注销并再次登录以启用对用户权限的更改
选择 Appimage格式下载:下载地址
添加权限并启动
1
2
chmod +x ./QGroundControl.AppImage./QGroundControl.AppImage
4. MOVROS的基本使用
使用MOVROS 来实现PX4 飞控无人机的自主启动、悬停和定点飞行
创建工作空间以及功能包
1
2
3
4
mkdir -p ~/catkin_ws/srccd ~/catkin_ws/srccatkin_init_workspace catkin_create_pkg offboard geometry_msgs mavros_msgs std_msgs rospy roscpp
创建文件offboard/src/offb_node.cpp并添加下面的代码
1
2
3
4
5
6
7
8
9
10
11
12
13
14
15
16
17
18
19
20
21
22
23
24
25
26
27
28
29
30
31
32
33
34
35
36
37
38
39
40
41
42
43
44
45
46
47
48
49
50
51
52
53
54
55
56
57
58
59
60
61
62
63
64
65
66
67
68
69
70
71
72
73
74
75
76
77
78
79
80
81
82
83
84
85
86
87
/** * @file offb_node.cpp * @brief Offboard control example node, written with MAVROS version 0.19.x, PX4 Pro Flight * Stack and tested in Gazebo Classic SITL */ mavros_msgs::State current_state; void state_cb(const mavros_msgs::State::ConstPtr& msg){ current_state = *msg; } int main(int argc, char **argv) { ros::init(argc, argv, "offb_node" ); ros::NodeHandle nh; ros::Subscriber state_sub = nh.subscribe<mavros_msgs::State> ("mavros/state" , 10, state_cb); ros::Publisher local_pos_pub = nh.advertise<geometry_msgs::PoseStamped> ("mavros/setpoint_position/local" , 10); ros::ServiceClient arming_client = nh.serviceClient<mavros_msgs::CommandBool> ("mavros/cmd/arming" ); ros::ServiceClient set_mode_client = nh.serviceClient<mavros_msgs::SetMode> ("mavros/set_mode" ); //the setpoint publishing rate MUST be faster than 2Hz ros::Rate rate(20.0); // wait for FCU connection while (ros::ok() && !current_state.connected){ ros::spinOnce(); rate.sleep(); } geometry_msgs::PoseStamped pose; pose.pose.position.x = 0; pose.pose.position.y = 0; pose.pose.position.z = 2; //send a few setpoints before starting for (int i = 100; ros::ok() && i > 0; --i){ local_pos_pub.publish(pose); ros::spinOnce(); rate.sleep(); } mavros_msgs::SetMode offb_set_mode; offb_set_mode.request.custom_mode = "OFFBOARD" ; mavros_msgs::CommandBool arm_cmd; arm_cmd.request.value = true ; ros::Time last_request = ros::Time::now(); while (ros::ok()){ if ( current_state.mode != "OFFBOARD" && (ros::Time::now() - last_request > ros::Duration(5.0))){ if ( set_mode_client.call(offb_set_mode) && offb_set_mode.response.mode_sent){ ROS_INFO("Offboard enabled" ); } last_request = ros::Time::now(); } else { if ( !current_state.armed && (ros::Time::now() - last_request > ros::Duration(5.0))){ if ( arming_client.call(arm_cmd) && arm_cmd.response.success){ ROS_INFO("Vehicle armed" ); } last_request = ros::Time::now(); } } local_pos_pub.publish(pose); ros::spinOnce(); rate.sleep(); } return 0; }
代码解释 或者python版本 见:MAVROS Offboard 控制示例 (C++) | PX4 自动驾驶用户指南
修改CMakeLists.txt ,添加如下两行
1
2
add_executable(offboard src/offb_node.cpp) target_link_libraries(offboard ${catkin_LIBRARIES} )
编译
1
2
3
cd ~/catkin_wscatkin_make source devel/setup.sh
启动无人机仿真并运行节点
在一个终端中运行下面指令
1 roslaunch px4 fast_test.launch
在另一个终端中启动节点
1 rosrun offboard offboard
更多mavros 的使用以及内置的消息、服务等使用详见官方文档:mavros - ROS Wiki
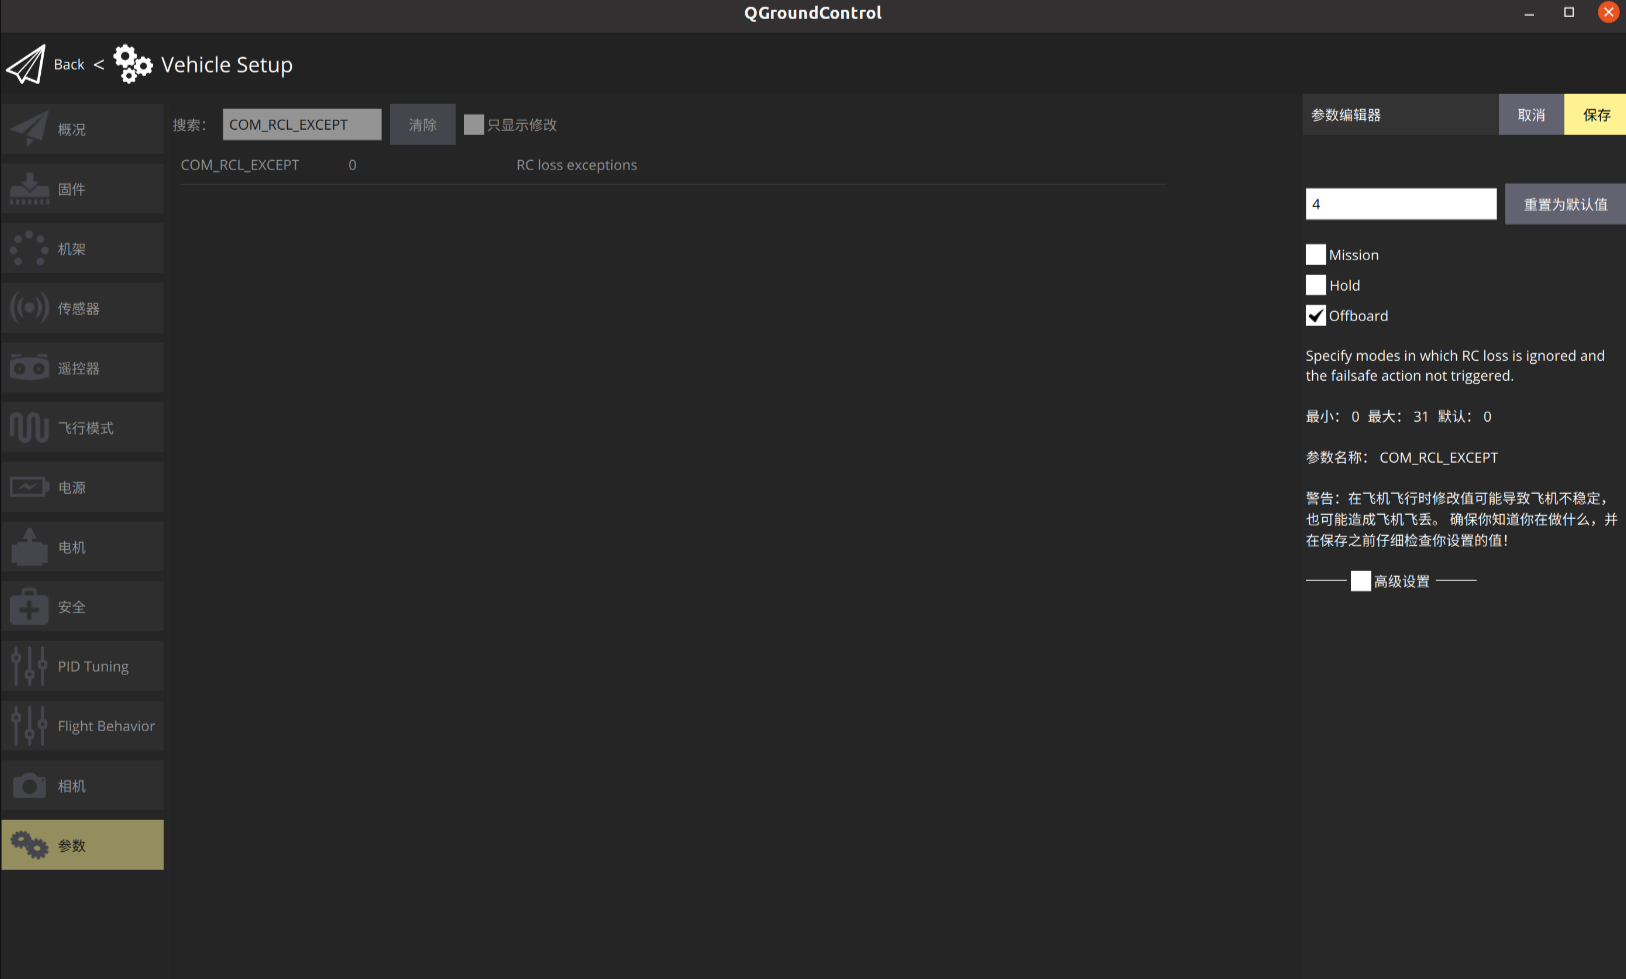
注:无人无法控制时的BUG
gazebo仿真终端显示如下并不断重复
1
2
3
CMD: Unexpected command 176, result 0 INFO [commander] Failsafe mode deactivated INFO [commander] Failsafe mode activated
且offboard节点端口不断出现如下
1 [ INFO] [1705027176.310554463, 727.708000000]: Offboard enabled
解决办法:
参考博客:
【PX4-AutoPilot教程-Offboard】MAVROS功能包控制无人机进入offboard模式飞行官方例程(C++实现)_mavros px4 实例-CSDN博客
参考:


